Box is a great tool for online file sharing, content management and collaboration. You upload your data and store it online then you can access it from anywhere. Share it with others you need to collaborate with and you can even assign tasks. This tutorial will cover how to create your account and upload files to Box.
NOTE: For purposes of this tutorial, we will use a free account.
Step 1: Create your account
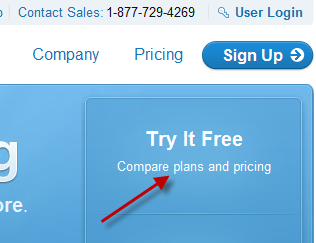
Navigate to http://www.box.net/ and create your free account. First, you’ll need to click on “Try It Free”.
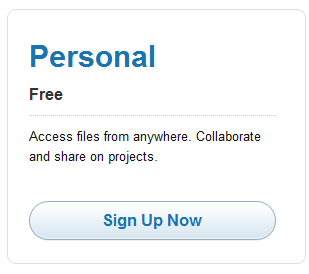
Now, you’ll choose your plan. For this tutorial, we are choosing the Personal Account which is free up to 5 GB Click on the “Sign Up Now” button.
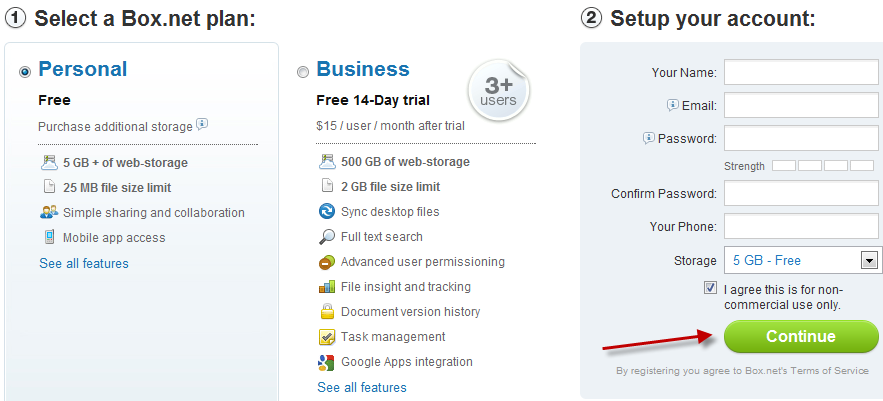
Next, you’ll need to choose the “Personal” plan or the “Business” plan then complete the account setup information. When you’re done, click on the green “Continue” button.
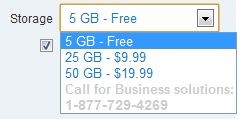
The choices for storage are:
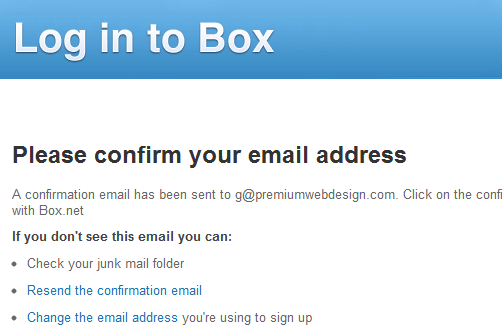
Before you can use your account, you’ll need to verify your email address. The message below is what you see after completing the signup screen. If you don’t receive the email, you can click “Resend the confirmation email”. For this reason, I’d keep this browser window open while I checked my email.
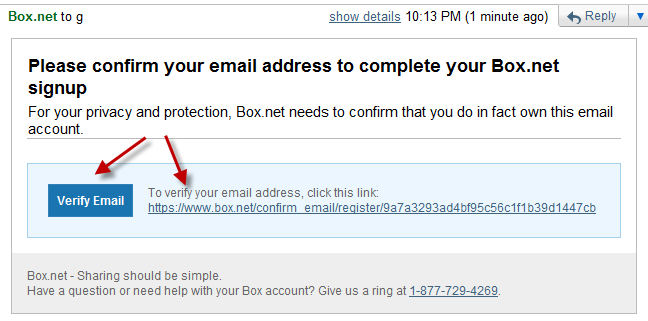
When you do check your email, this is what the confirmation request will look like. You can click the “Verify Email” button or click the link.
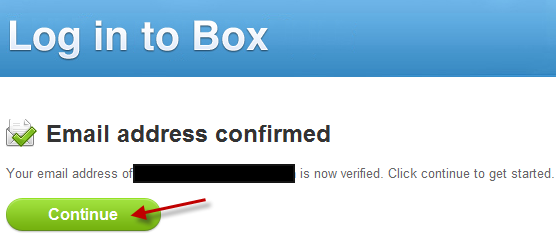
When you click to verify your email address, you’ll be taken to the confirmation screen. Click on the green “Continue” button to get started.
Step 2: Create a Folder
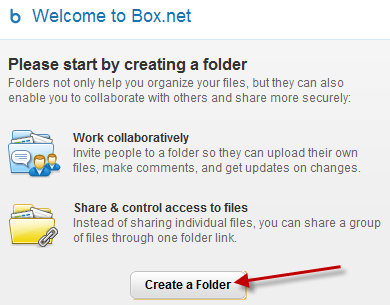
Once you verify your email and get logged into your account, you will be presented with the following screen. Click on “Create a Folder” to get started.
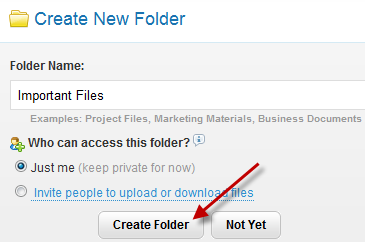
The choices for creating a new folder are “Folder Name” and “Who can access this folder?” Enter the appropriate folder name and for now, choose “Just Me” for who can access the files in the folder. You can experiment with sharing later on.
Step 3: Upload Files
Now that you have created your folder, it’s time to upload some files!
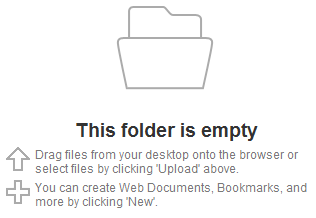
Before you click on Upload, click on the name of your folder so that your files will go into that folder. You should see the following:
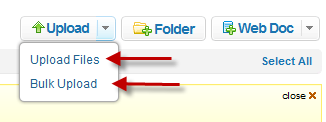
For uploading, Box gives you two choices. You can upload files one at a time or you can do a bulk upload. I recommend using Bulk Upload so that’s what we’ll demonstrate. Uploading one file at a time is very easy though so no worries.
Click on “Bulk Upload” which you’ll see if you click on the arrow to the right of “Upload”.
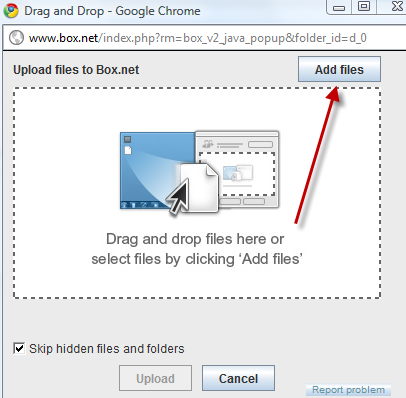
Upon clicking on “Bulk Upload”, you’ll see the following screen. You can click on “Add Files” to choose which files to upload.
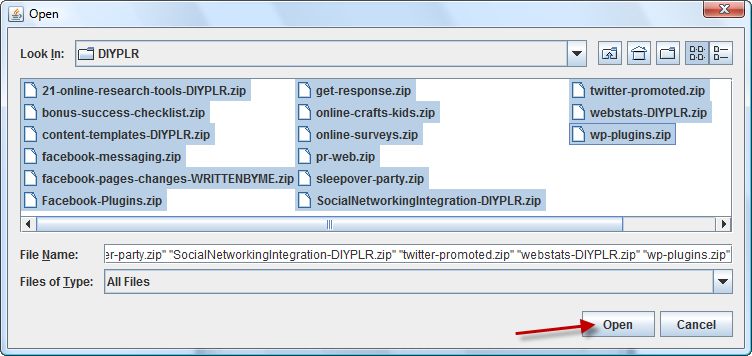
Navigate to the folder where your files are located and then highlight them. To select multiple files, hold down shift and click the first one then the last one. To select random files, use CTRL+Shift . Once your files are selected, click on “Open”.
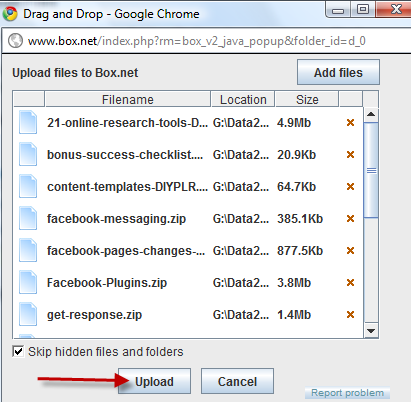
Now your files appear in the Drag and Drop box confirming these are the files you are about to upload to Box.net. When you are ready to upload, simply click on the “Upload” button.
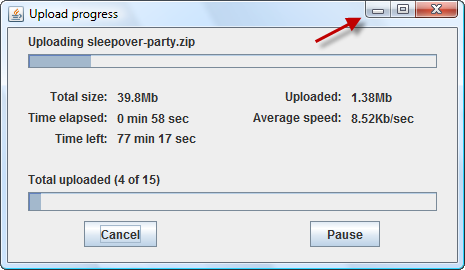
As your files are being uploaded, a progress window will be displayed to show you the status of the upload. If you wish to work on something else while it loads, click on the Minimize button (see arrow in below screenshot).
Step 3: View your Files on the Web
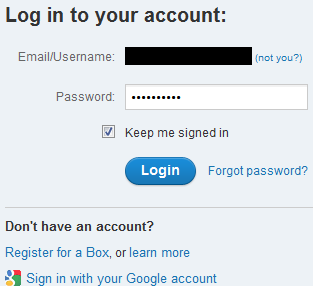
To view your files on the web: Go to http://www.box.net/ and log in by clicking the “User Login” link at the top right.
Enter your password and click on “Login”.
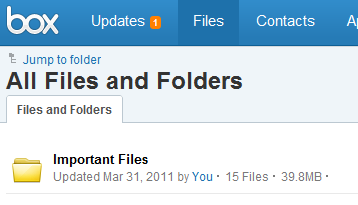
View your folders by clicking on Files. Working with them is beyond the scope of this tutorial, however. The site is very user-friendly though so no worries.

