Very few things break your heart as much as losing all the data on your computer. All those important documents, photos, business documentation, and financial records can be lost in the blink of an eye if you do not have a system in place for backing up your data. This guide will show you how to back up and store your data using Mozy.
NOTE: For purposes of this tutorial, we will use a free home account. If you intend to back up business files, you should sign up for a business account.
Step 1: Sign up for an account
To sign up for an account, you will need to go to http://www.mozy.com/
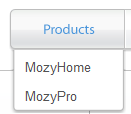
Click on Products in the menu at the top.
Choose MozyHome from the dropdown menu.
Choose “Try It Free” from the menu in the middle of the page.

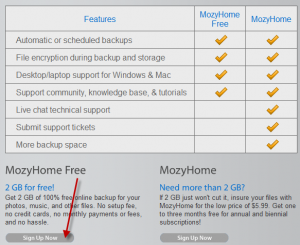
The following screen will give you a feature comparison between MozyHome Free and MozyHome. If you choose MozyHome, the screens from here on out may be slightly different.
To go with MozyHome Free, click the Sign Up Now” button below that plan.
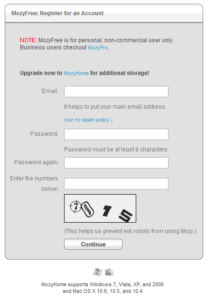
After you click on “Sign Up Now”, you will need to register for an account. Enter your email and choose a password then enter the #s in the graphic.
Click on “Continue” at the bottom of the sign up box.
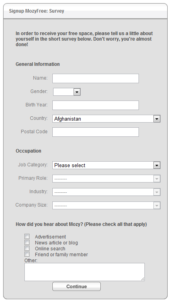
Complete the Survey and click on “Continue”.
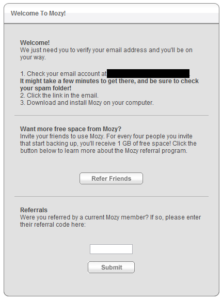
You should now see a “Welcome To Mozy” screen. At this point, you will need to fire up your email program and check for an email from Mozy so that you can confirm your email address. You can refer friends while you wait for the confirmation email.
Here is what the email looks like. Simply click the link and your account will be verified.

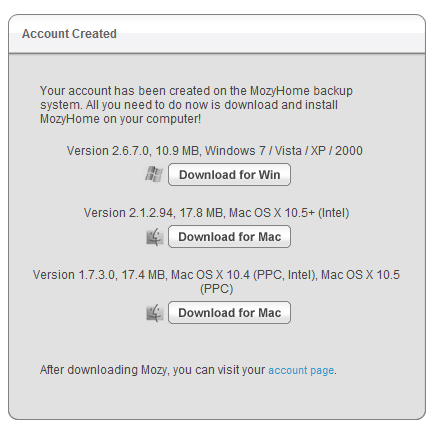
Upon clicking the link, your account is verified and you receive the “Account Created” message below. At this point, you need to download and install the software appropriate for your computer system.
Step 2: Save software to your computer then install it
Due to variety of computer systems, we are not demonstrating this step but suffice it to say that Mozy needs to be installed on your computer. The data you back up will be remotely stored but the software itself resides on your computer. I would recommend going ahead and installing it on your main computer and a backup computer as you will need to access it from the computer you want the data restored to should you have a crash.
Step 3: Login to Your Account and Choose Files to Back Up
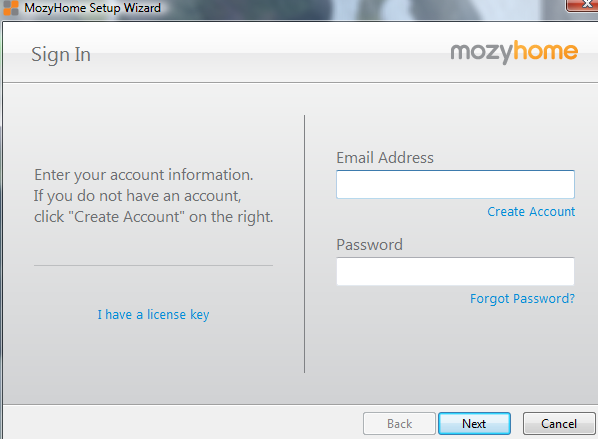
After Mozy finishes installing, you will be presented with the login screen. Simply enter your email address and password then click on “Next”.
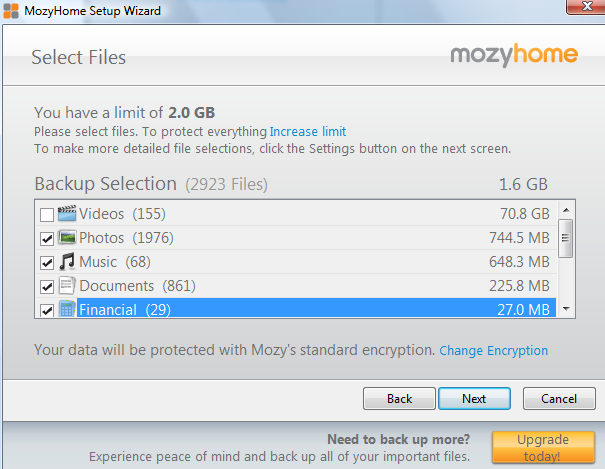
Now, you will choose which files to back up. As you can see from the screenshot below, Mozy will automatically search for certain types of files and present you with a list. This makes it very easy for you to decide what to back up. Notice that Videos contains 70 GB of data so it exceeds the 2 GB you get free with Mozy. However, I can select several of the file types and still be within the limit. Make your choice then click on “Next”.
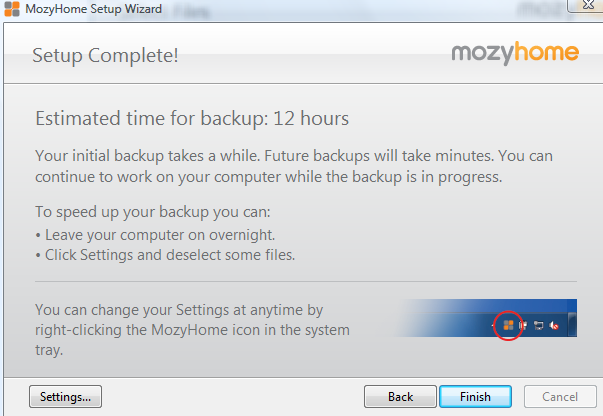
Now you will receive a screen telling you “Setup Complete!” This screen will tell you how long it will take to back up your files this initial time. Be prepared for it to take several hours. You’ll want to leave your computer on so that it can finish, if possible.
NOTE: See the “Settings” button in the bottom left-hand corner of the above screen print. If you want to deselect (remove) some files, click this button.
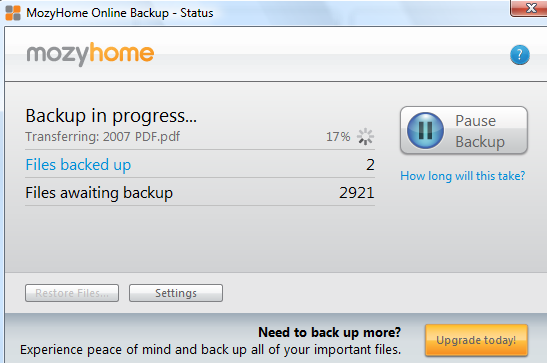
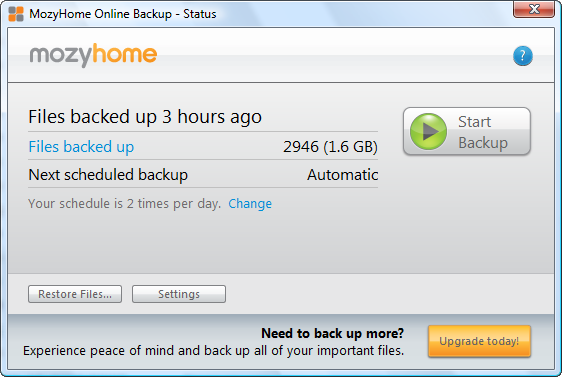
To check the status of your backup, double-click on the Mozy icon in the taskbar.
The following screen will appear.
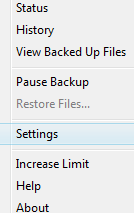
For other choices such as pausing your backup, you can right-click the mozy icon in the taskbar. The choices you see when you right-click will be:


